Tuesday, September 11, 2018

One Last Summer Paradise Card

Fall is still over a week away but I know everybody has pumpkin spice on their brain! I wanted to show one last card for Summer. I really love macaws, and used the Color Layering Parrot Stamp Set from Hero Arts. 


I stamped the body in Red and Blue ink. I then stamped the second and third layer in Versamark ink and embossed with WOW embossing powders.  I stamped the beak and feet in black ink and cut out a few leaves I made as well. I used some green shades of Distress Inks on the background. How to achieve the spots and how to emboss really well are discussed in more detail in an earlier post of mine. I really wanted to make a macaw with red, though I love the yellow/blue variety featured on this USPS Pets Stamp. I also used a leaf embossing folder on a sheet of green paper for the back of the card. I am happy with how it turned out!


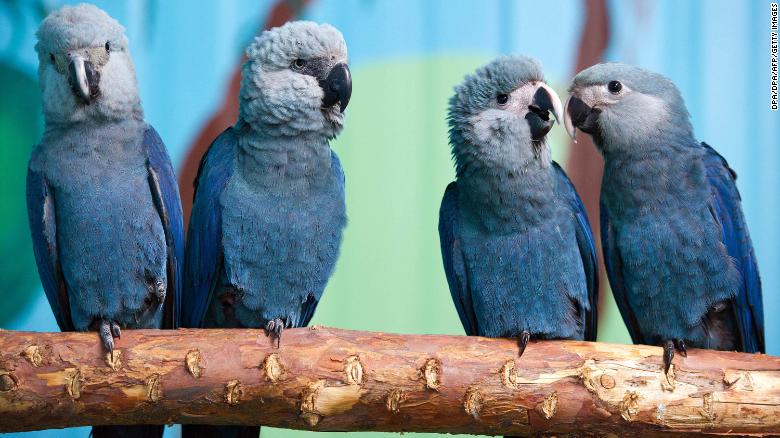
I will need to make another blue parrot card soon to honor the Spix Macaw. It has sadly been declared extinct in the wild. Here is a pic of the beautiful birds and a link to the World Wildlife Fund.

Spix's macaws sit on a branch in their aviary at the Association for the Conservation of Threatened Parrots in Germany.

Monday, September 3, 2018

HB2U Feathers

Hi guys, today I am sharing a clean, simple, embellishment-free birthday card.
Sometimes simplicity is the best way to go. Of course, I still make cards with multiple techniques and tons of supplies. Once in a while I feel like I am using everything + the kitchen sink.. Ever spend a ton of time and supplies on a card and then wonder if you should have stopped 5 steps ago? It was difficult to not add something shiny on this card, but it was important to keep the recipient in mind.


First, I blended some Distress Inks on Strathmore Bristol 300 Series Paper. 
Then, I used a feather die set from Paper Smooches to cut out my feathers.
To create the "HB2U", I use dies from 2 sets: My Favorite Things' Stitched Alphabet, and My Favorite Things' Stitched Numbers on black cardstock. The stitching is a really nice detail in person and I use these dies A LOT. "HB2U" is young and modern but if I wanted to be super-cool I might have even included the hashtag (#) symbol :)
There's always next time, right?

I placed a piece of 4.25in x 5.5in. sky blue paper inside an embossing folder and ran it through my die-cutting machine. I believe I got this folder at A.C.Moore during a 50% off coupon day. Follow the directions for your machine: you want to make sure you don't break/damage your equipment. Folders are a great way to add a lot of texture to a card.. and they are inexpensive, fast and easy!

Anyway, the final steps were the most satisfying- putting it all together! I cut a piece of card-stock to 11in x 4.25in. Then, I used a scoring buddy to score it at 5.5in. That way, the card bends nicely. That is how I make many of my 'card-bases'. I used a tape runner to glue the embossed blue sheet to the front of my card-base. Then, I glued the feathers and HB2U in place using Lawn Fawn's Glue Tube. Let it dry, pop that bad boy in the mail and you are good to go! (or add it to your card stash and don't tell anyone...)

Have an awesome day and thanks for checking out my page!

Challenges: